

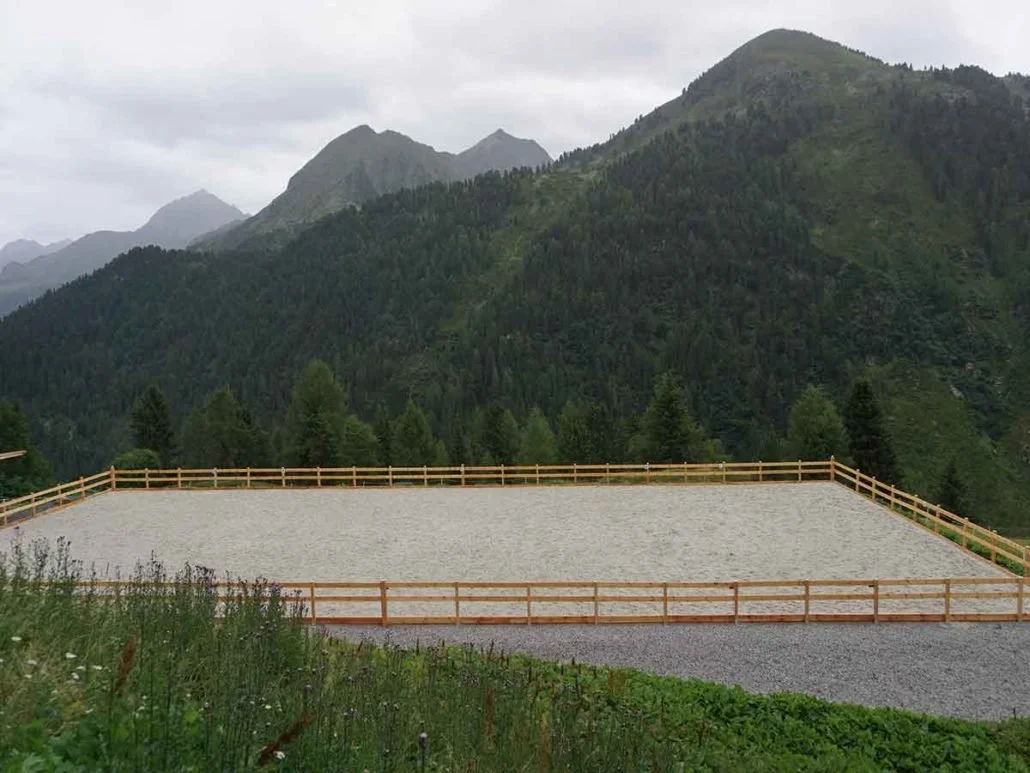
DIY Install Guide
Installing Footing Correctly Is What Makes It Perform
Installing footing isn’t just placing material—it’s controlling how the surface behaves under the horse.
Depth, moisture, and distribution all affect how the footing compacts, responds, and holds up over time.
This guide provides practical steps to help you install your footing correctly—so it performs consistently from the start.
Step 1: Evaluate Your Base
The base determines how your footing will perform.
Before installing any footing material, confirm that your base is stable, properly graded, and able to manage water effectively.
If the base is soft, uneven, or holds moisture, the surface above will become inconsistent—regardless of the footing used.
A properly constructed base provides the foundation for drainage, stability, and consistent surface response under the horse.
If there is any uncertainty about your base, address it first.
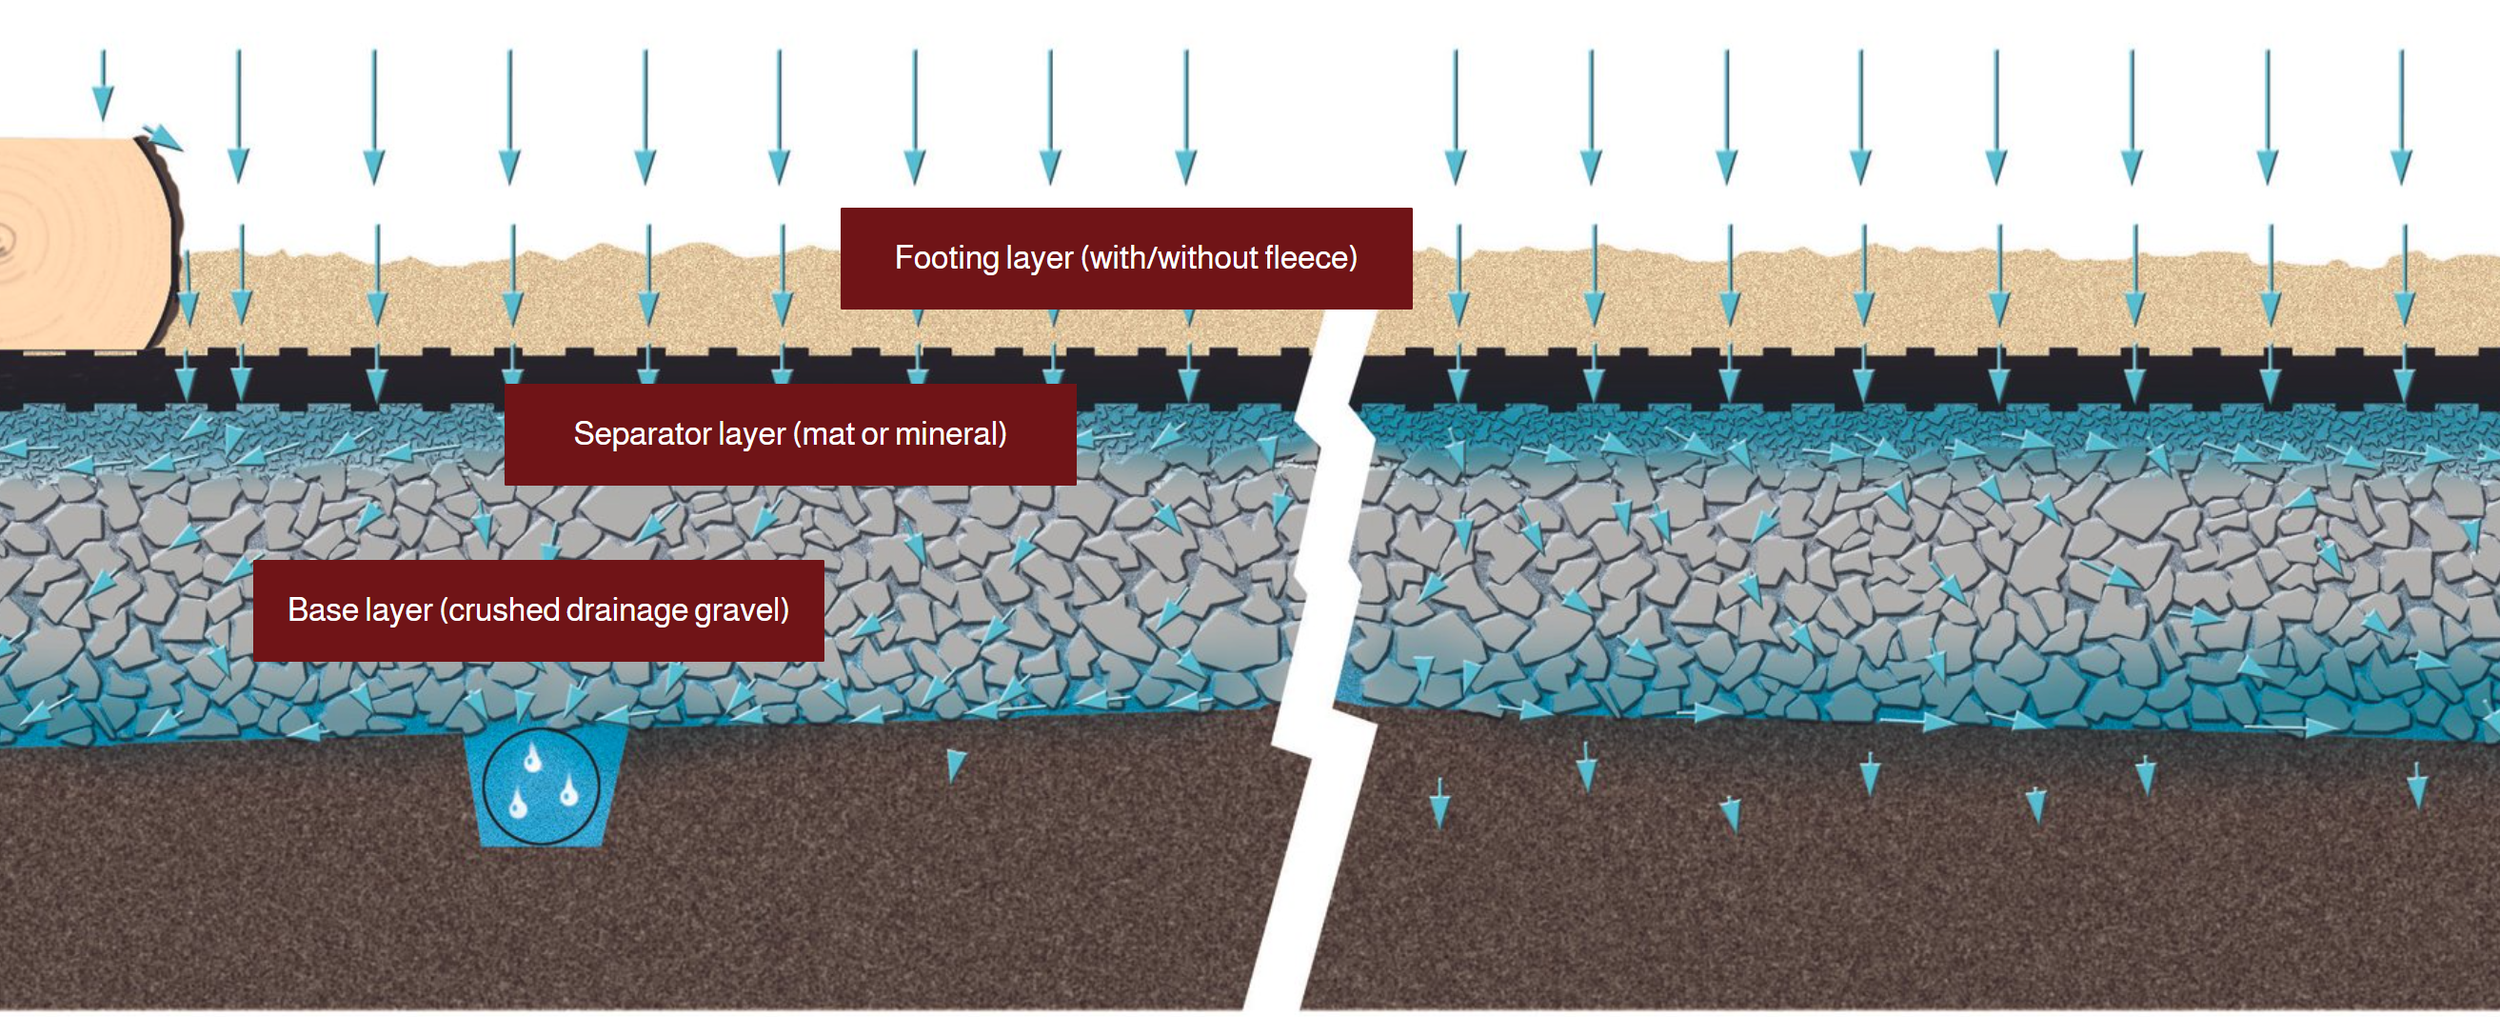
Check for:
• Stability — the base should be firm and uniform across the arena
• Grade — slight slope or system design for proper drainage
• Drainage — no pooling or water retention after rain
• Separation — clear distinction between base and footing layers
Step 2: Plan Your Footing Depth
Footing depth directly affects how the surface loads and responds under the horse.
Different disciplines place different demands on the arena—requiring variations in cushion, stability, and surface response.
Too shallow, and the surface becomes firm and unforgiving. Too deep, and it creates instability and unnecessary strain.
The goal is a depth that provides a controlled, consistent response—matched to how the horse moves and works in that discipline.
General Depth Guide
Dressage 2” - 2.5”
Jumping 3” - 4”
Competition Jumping 4” - 5”
Lunging 3” - 4”
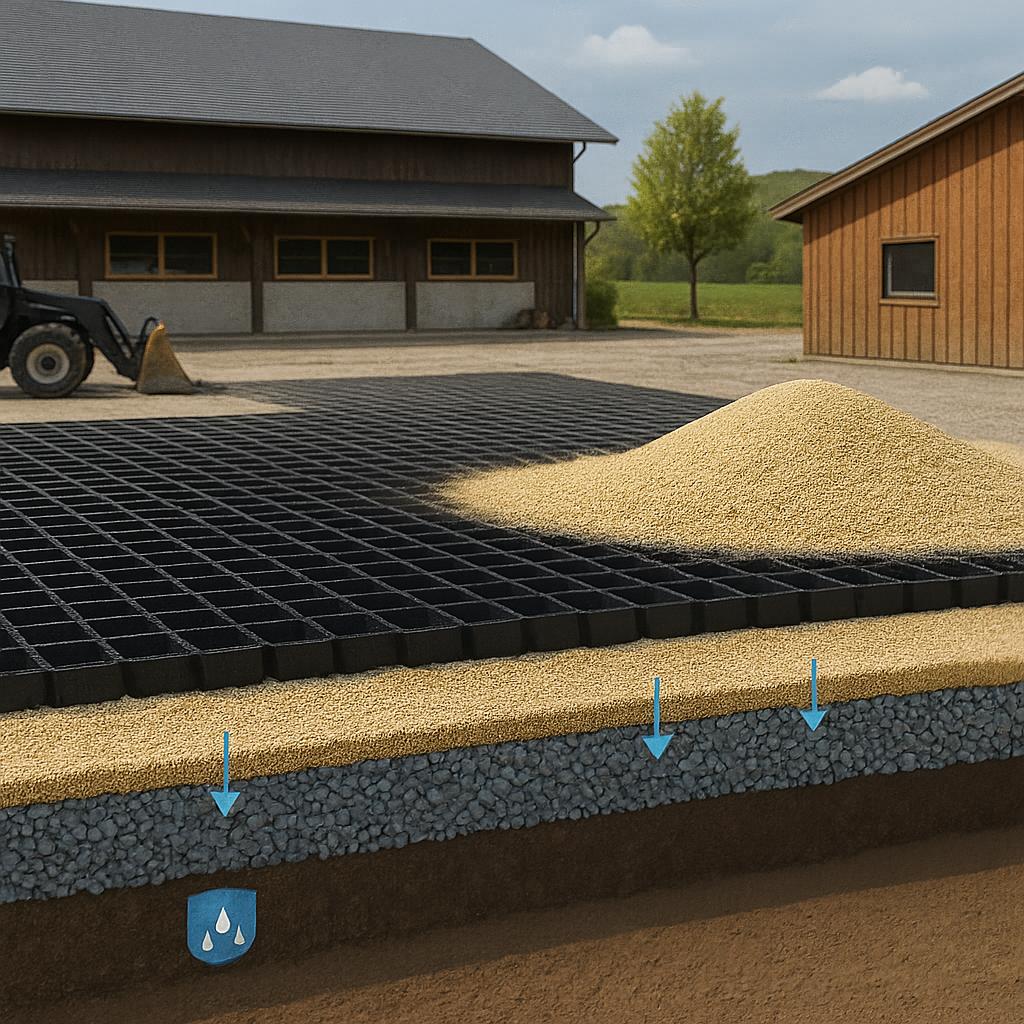
Step 3: Delivery & Staging
Plan your delivery and staging to keep the process controlled and consistent.
• Stage materials close to the arena Reducing unnecessary movement helps maintain consistent distribution and prevents delays during installation
• Keep materials dry and protected Moisture changes how footing handles and blends—starting with dry, consistent material leads to more predictable results
• Use appropriate equipment A tractor with forks or a loader allows for controlled placement, helping maintain even distribution across the arena

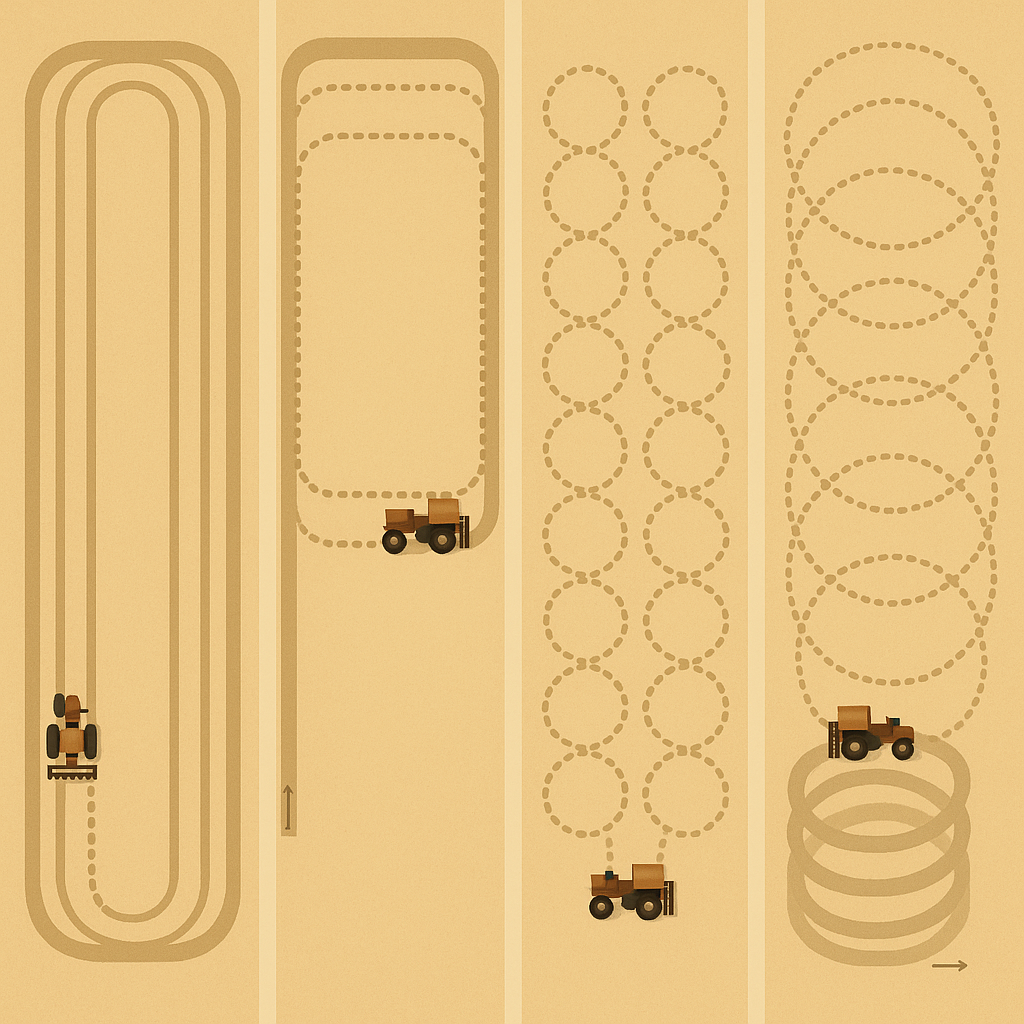
Step 4: Spreading the Footing
Distribute the material across the arena in a controlled, uniform layer—avoiding heavy piles or thin areas.
Inconsistent spreading leads to uneven depth, which directly affects how the surface loads and responds under the horse.
• Break up and distribute materials evenly Using a manure spreader or similar equipment helps create a consistent layer and reduces large clumps or buildup
• Work in controlled passes Spreading in smaller, even passes helps maintain uniform coverage across the arena
• Follow safe handling practices Stand to the side when cutting bale bands and use proper eye protection during handling
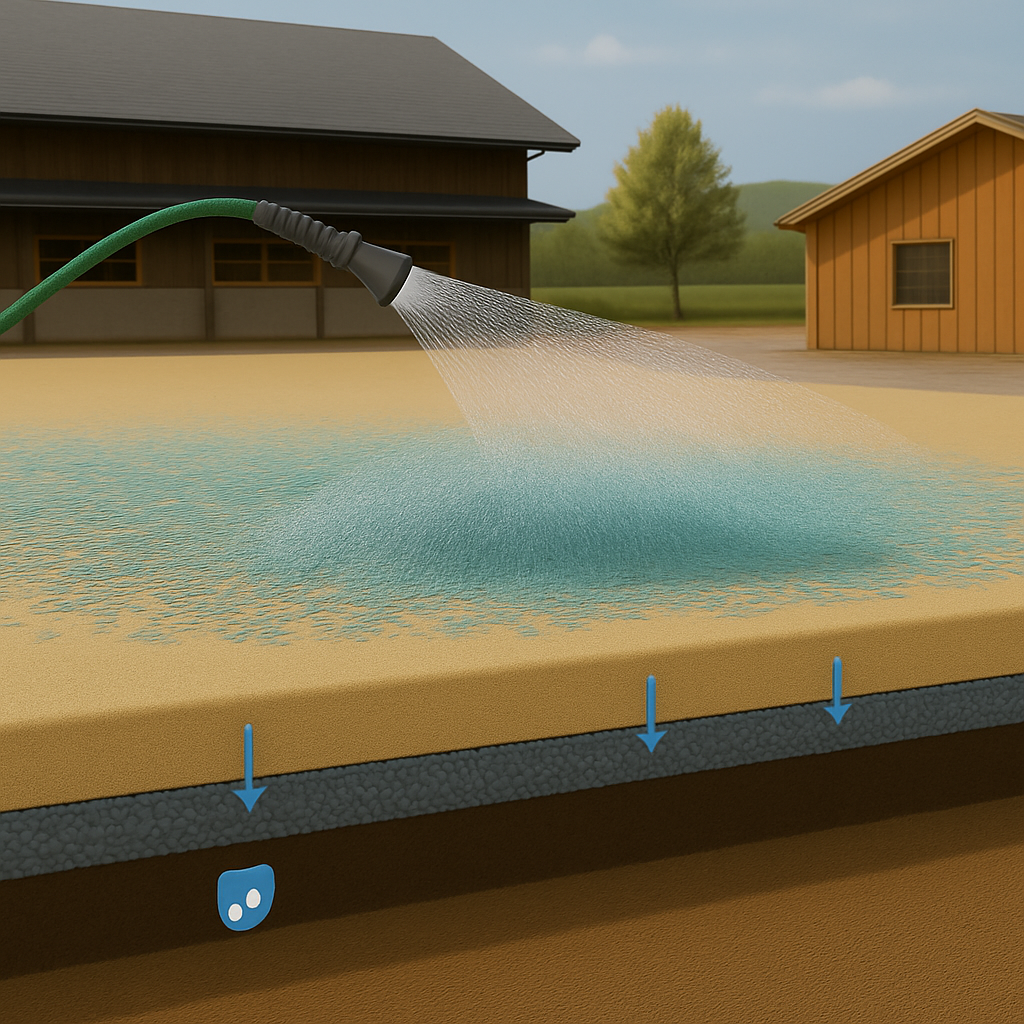
Step 5: Water the Footing
Moisture is what allows the footing system to function properly.
Water enables the fibers to integrate with the sand—improving structure, compaction, and consistency across the surface.
Apply water evenly across the arena as the footing is loosened and spread.
• Saturate the footing thoroughly The fibers should be wet enough to fully engage with the sand structure
• Maintain even moisture levels Uneven watering can lead to inconsistent blending and variable surface response
• Allow materials to integrate Proper moisture helps the footing settle into a more uniform, stable layer under load
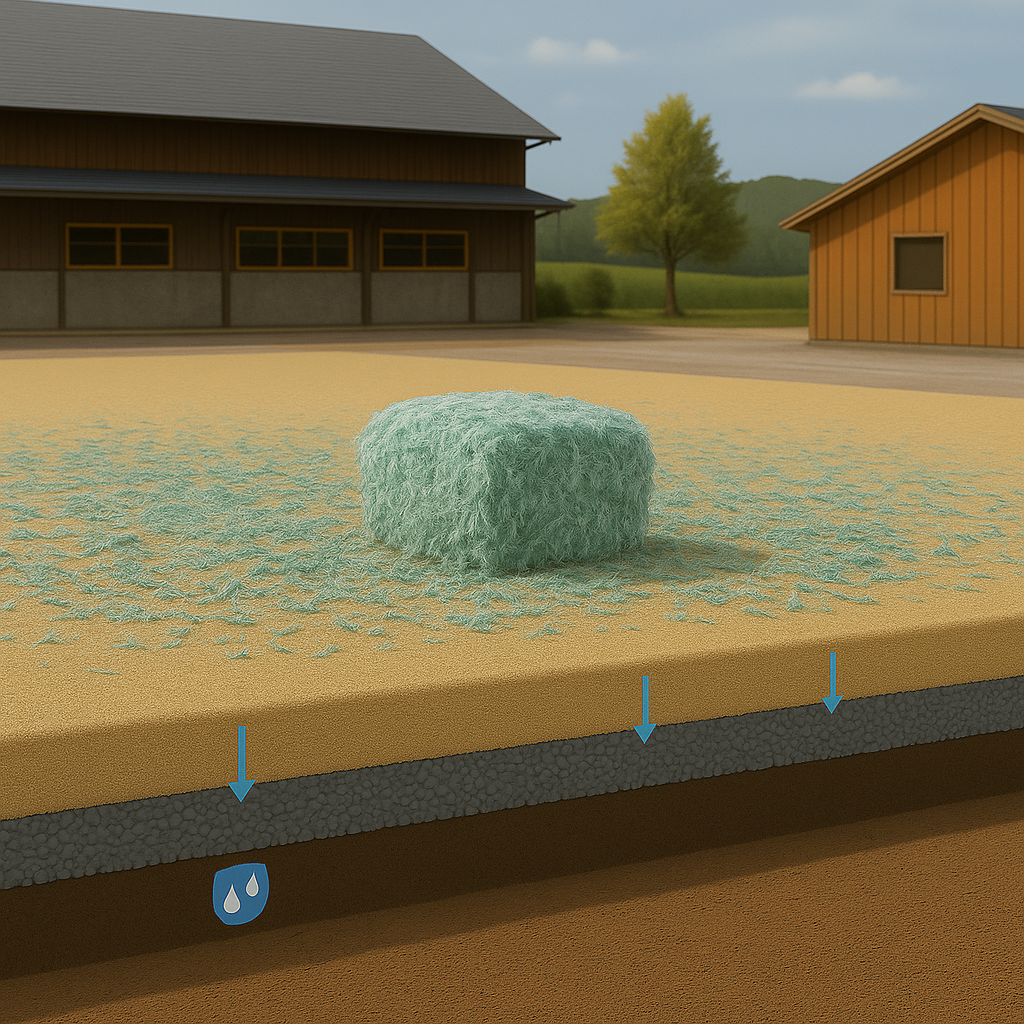
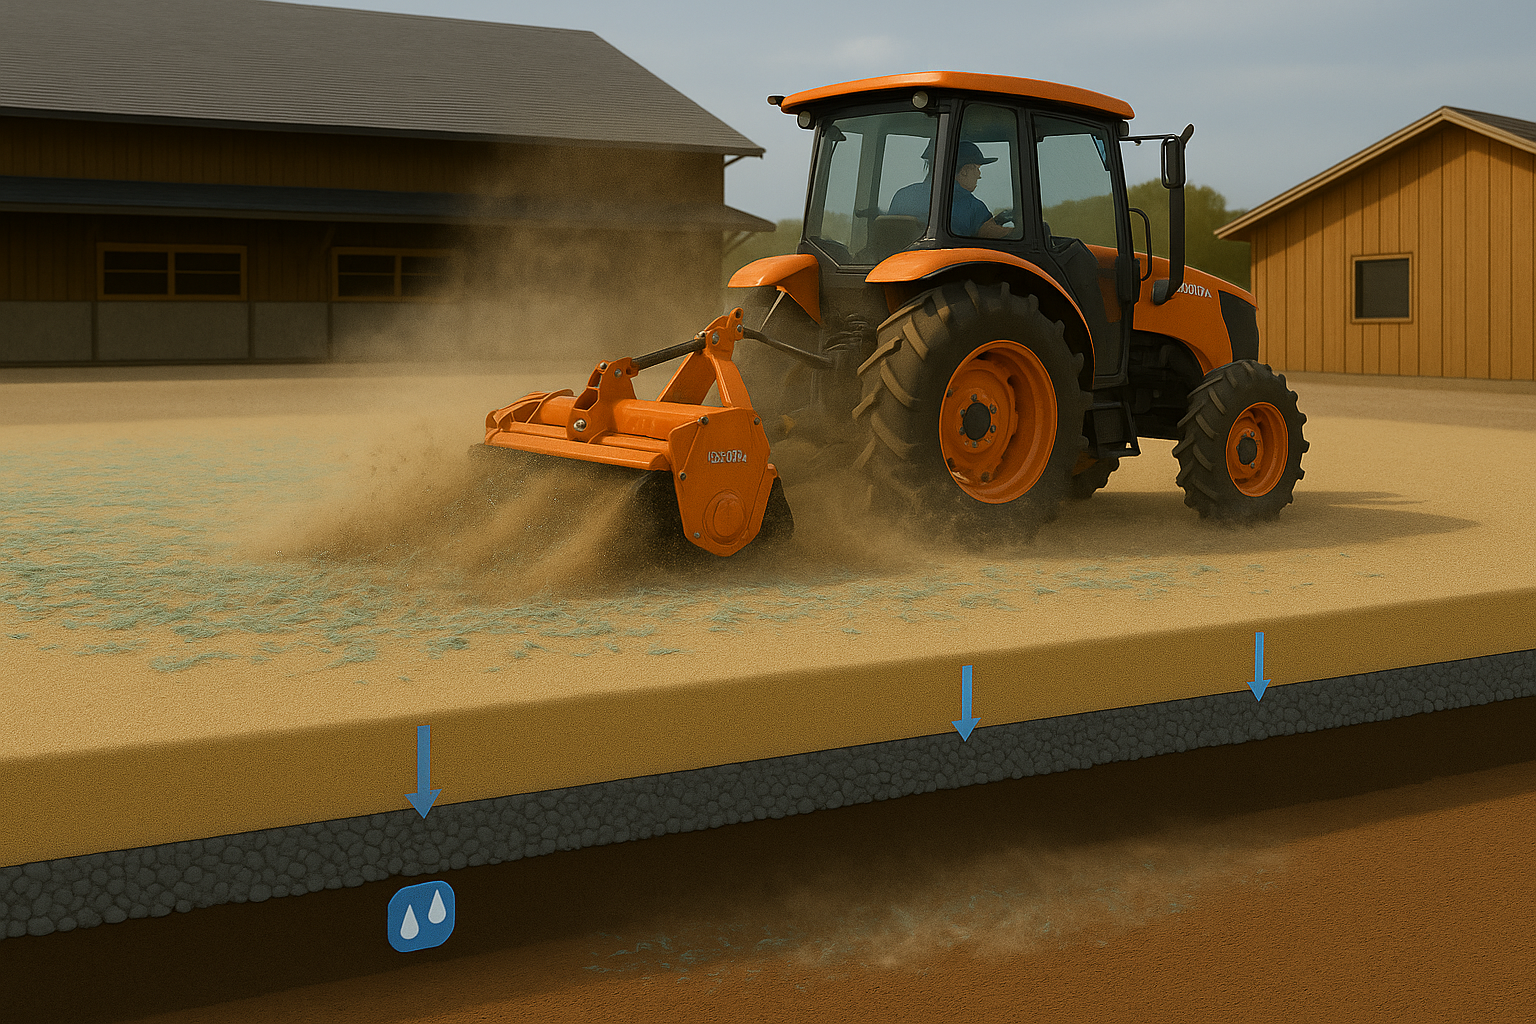
Step 6: Mix in the Fibers
Blending is what creates a uniform footing system.
The goal is full integration between the fibers and the sand—so the surface behaves consistently under the horse.
Use a rototiller or power rake to mix the materials evenly across the entire arena.
• Make multiple blending passes Thorough mixing takes time—repeating passes ensures the fibers are evenly distributed throughout the sand
• Watch how the materials interact If fibers remain on the surface, additional moisture or mixing is required to fully integrate them
• Maintain proper moisture during blending Water allows the fibers to anchor within the sand structure, improving consistency and compaction

Step 7: Level & Groom
After blending, the footing will be loose and highly aerated.
This is normal—the surface needs time and controlled compaction to settle into a consistent, stable structure.
Use a groomer with a roller component and shallow tine settings to level the surface without overworking it.
• Lightly compact the surface Gentle rolling and grooming helps the footing settle into a more uniform layer without creating hard or uneven areas
• Keep grooming shallow and consistent Over-aggressive grooming at this stage can disrupt the structure before it stabilizes
• Ride lightly and allow the footing to set Initial use helps the materials settle naturally, improving consistency and surface response over time
Step 8: Ongoing Maintenance
Footing performance is not static—it changes with use, moisture, and maintenance.
Consistent upkeep is what preserves how the surface loads and responds under the horse.
• Maintain consistent moisture Water helps stabilize the footing structure and supports a predictable surface response
• Groom based on use and conditions Regular dragging maintains depth, redistributes material, and helps keep the surface uniform
• Vary grooming patterns Changing direction prevents uneven wear and helps maintain consistency across the arena
• Monitor for wear and adjust as needed Over time, materials break down or shift—periodic additions help maintain performance and consistency